Creating Images for Academic Resources
There are few things that can elevate an academic resource in the same way a well-designed image can. However, it can be daunting to design an image that will allow your academic resource to retain its professionalism rather than making your resource appear cheap and unreliable.
Read on to learn some helpful principles for design and for a list of tools you can use to design your own images!
The 4 Cs of Design
There are so many tips and tricks out there, but let’s simplify some important concepts of design by relying on four Cs: Communication, Composition, Consistency, and Content.
First C: Communication
The first step when creating an image is to determine your audience. Though a seemingly simple task, it is instrumental in leading the direction of your design. When you begin to narrow down your ideas and create your image, keeping your audience in mind will ensure that the image has the proper tone and objective.
The second step—and arguably the most important—is determining what the image needs to communicate. It’s so tempting to play around with unique designs and crazy new fonts when you are creating, but more than anything your design needs to be focused on clarity and consistency. A conceptual focus will make the image more appealing, concentrate your design, and make your ideas easier to compose.
Second C: Composition
The principal ideas for the graphic’s design come when you begin to pick the concept apart. What are the most important pieces? What is the main point you are trying to communicate? These vital pieces you’ve determined are the pieces you should draw your audience’s attention to.
Once you’ve broken down your concept you can find ways to draw attention to the most important pieces. The most common way to highlight these pieces is by changing the size, color, or font to distinguish one fragment from another. This will build a visual hierarchy and will draw your audience’s eyes to the key points in your composition.
Don’t be afraid to look at other designs and draw inspiration from other compositions and design layouts. The internet is a vast resource that can be hugely helpful when learning to build an effective image. Just be sure that when you are finished with your design, it is free of any plagiarism or copyright infringement!
Third C: Consistency
It is important not to go overboard when building your visual hierarchy. If every piece is different the audience’s eyes will have nowhere to focus and the image will look like a mess of indecipherable information. Consistency is key. There should be no more than three fonts or text sizes in a single design. Alignment, color palette, and the ease with which text can be read should also be key elements considered.
Another thing to consider (if applicable) is whether the design matches your brand. Be sure to consult with a style guide if possible. Consistent designs build brands and make your images appear as more united and reliable resources.
Fourth C: Content
Once you have your design underway, don’t forget to double-check spelling, grammar, and punctuation. These are so easy to miss, especially after staring at a singular design for a long time. It may be beneficial to have someone else look over any text within the image for you. They will often catch things that you’ve missed. Having proper spelling, grammar, etc. will keep your image looking professional and will serve to affirm it as a reliable source.
With just these four Cs, you are well on your way to designing an image that will elevate your academic resources to new heights.
Where to Design Images
Ultimately, a lot of graphic design comes down to the software you use. The best of these softwares are, of course, going to be paid softwares.
The overall best and most well-known of these softwares is Adobe. Each Adobe software is made to accomplish different things. When it comes to image creation, Adobe Illustrator and Adobe Photoshop are going to be your best friends.
Adobe Photoshop is likely the most well-known design software, and is a great tool for beginners to learn with. Though the sheer amount of choices and tools Photoshop offers can be daunting, there are a million tutorials out there that can show you how to do just about anything you could think of.
Adobe Illustrator is another great design tool. If vector-based images are what you are looking for, Illustrator is the tool for you. Like Photoshop, there are so many different things you can do and so many tutorials online to help you. Though the price can be a turn away, paid softwares truly are the best and easiest to use for design work.
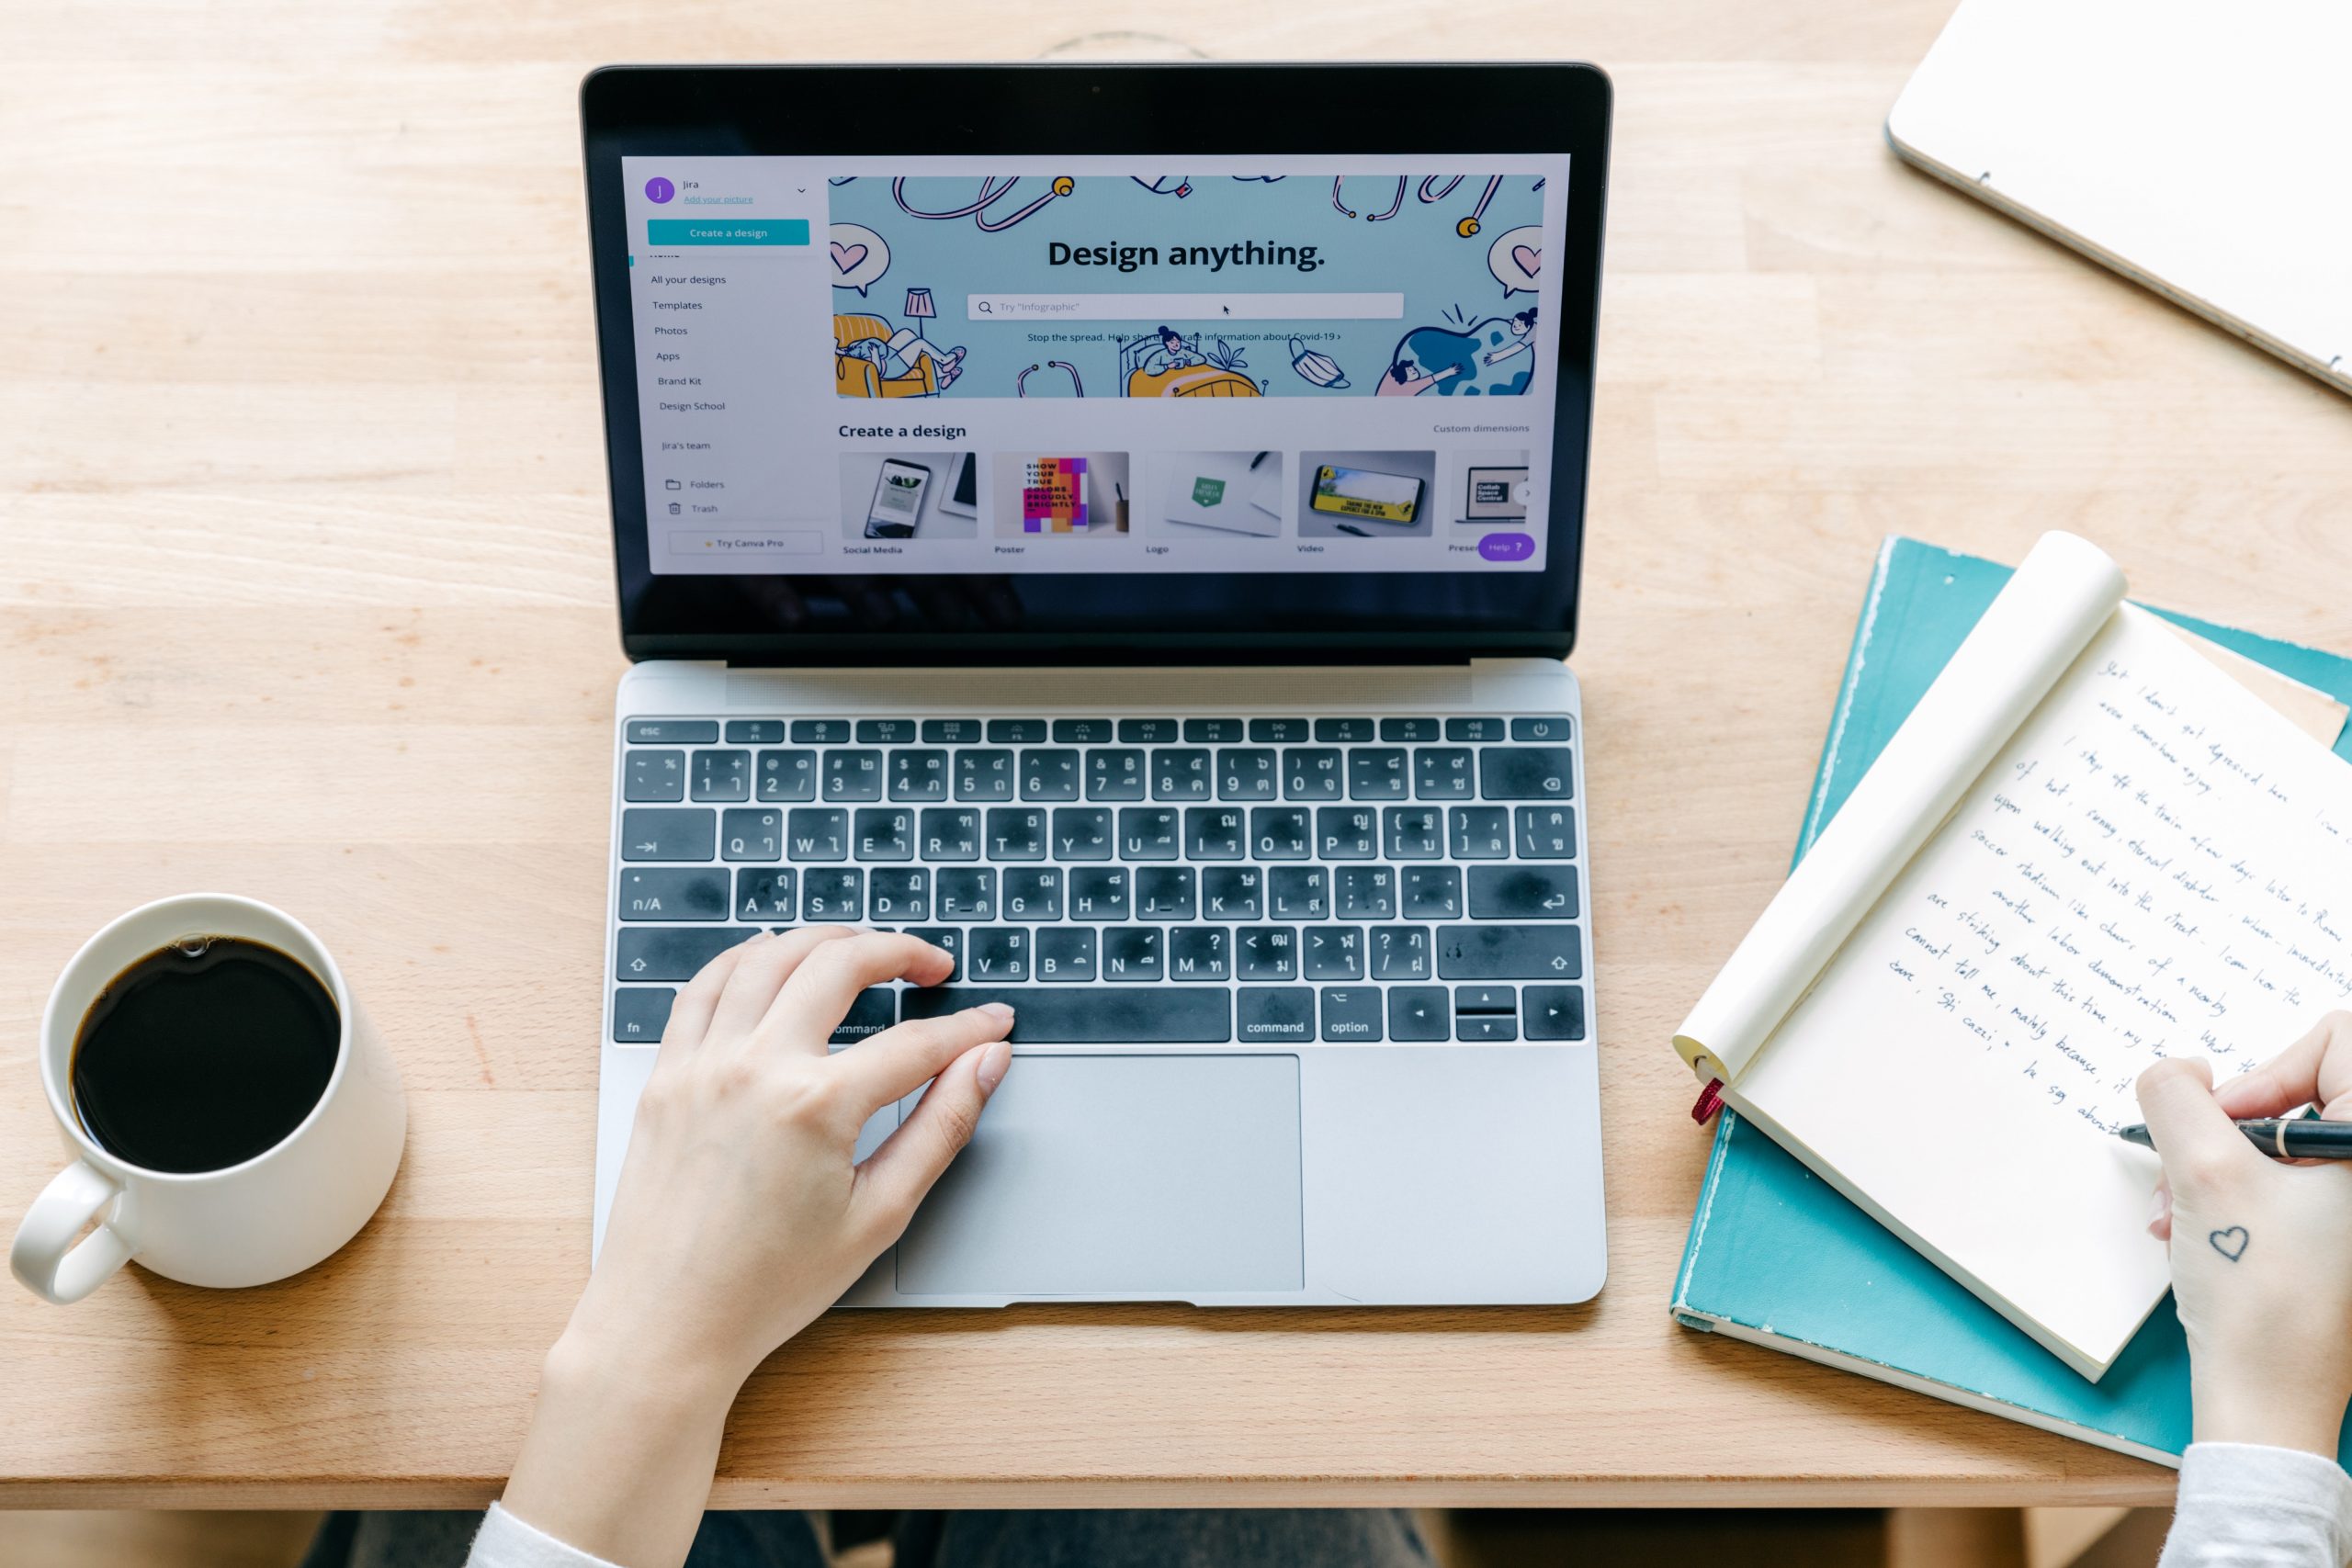
Canva is a great online, free resource, with options to upgrade for premium content. This resource provides templates complete with colors, images, and fonts. Templates are available for graphs, presentations, flyers, videos, infographics, assignment worksheets, and more.
Ultimately there are so many ways you can design images. With better software comes better images but you can start anywhere with just a little creativity.